Published: March 15, 2026 · Updated: June 2, 2026 · 12 min read
The Moroccan Sahara is one of the world's great photography destinations. The Erg Chebbi dunes near Merzouga offer an extraordinary combination of elements that photographers dream about: graphic dune forms with clean, curved ridgelines; warm golden-amber sand that saturates in the evening light; camels and riders that create natural silhouettes; an unobstructed horizon; and — after dark — one of the most spectacular night skies on Earth. Whether you shoot with a smartphone, a mirrorless camera, or a DSLR, the principles in this guide will help you bring home images that truly capture what the desert feels like.
Tip #1: Prioritize Golden Hour — It's the Only Hour That Matters
The 45–60 minutes before sunset and the 30 minutes after sunrise are the only times you should be shooting dune landscape photos. During these windows, the sun is low, the light is warm and golden, and the shadows across the dune ridges are long and dramatic — creating the three-dimensionality and depth that make desert photos breathtaking. At midday, the overhead light flattens everything and turns the sand white. Schedule your camel trek to arrive at the dunes just before sunset, and get up for sunrise without fail. These are the two most important photo decisions you will make during your entire Sahara visit.
Tip #2: Find the Ridgeline — Shoot Along the Dune Crest
The most powerful compositional element in dune photography is the ridgeline — the sharp, curved line where the sun-lit face of the dune meets the shaded side. Shooting along the ridgeline (not across it) creates images with strong graphic lines, depth, and the dramatic contrast between bright and dark. Walk to the ridgeline of a dune before you start shooting. Get low — crouching or lying on the sand — to emphasize the curve. Shoot with the light behind you (for a full-lit face) or with the dune backlit (for a dramatic silhouette ridgeline). Both work beautifully at golden hour.
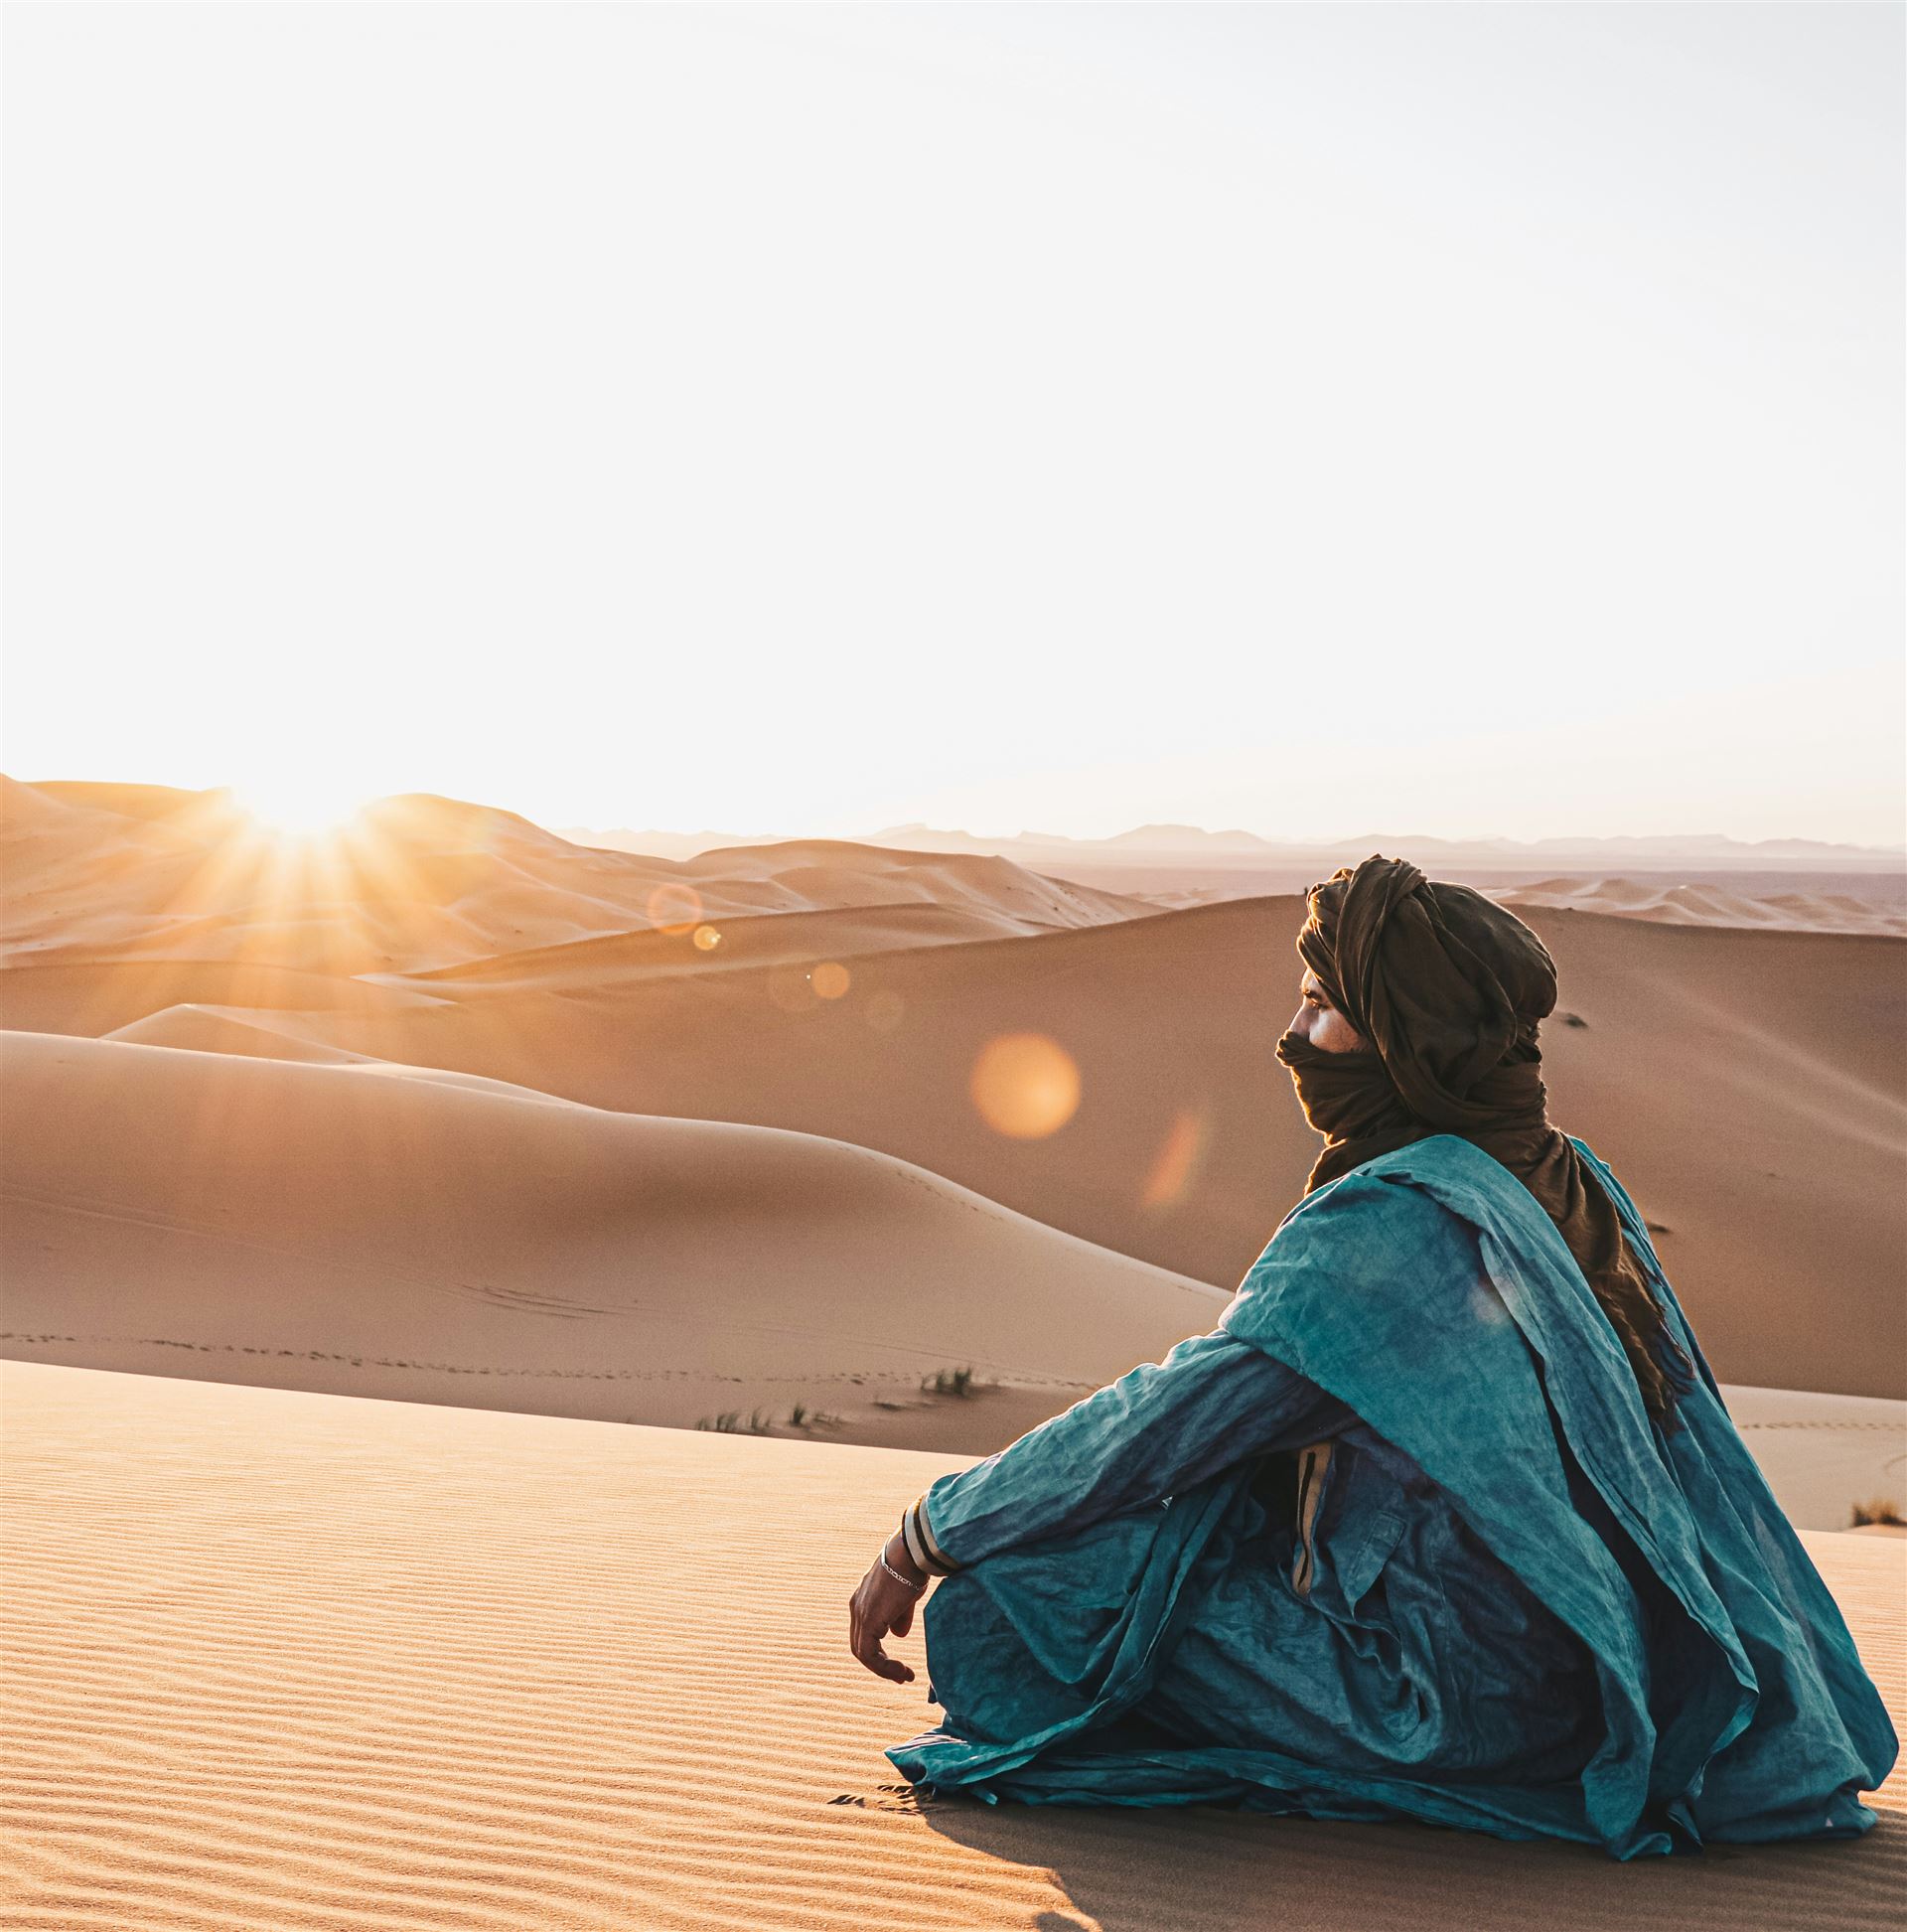
Tip #3: Use the Camel and Rider as a Scale Element
The dunes of Erg Chebbi are genuinely enormous — but without a scale reference, it can be difficult to convey their size in a photograph. A camel and rider silhouetted against the sky, positioned on a dune ridge, immediately communicates both the scale and the spirit of the Sahara. Ask your camel guide to ride to the top of a dune with you, and then step back 30–50 meters to photograph the silhouette. Shoot into the last light of sunset for the most powerful effect. This is the most iconic and emotionally resonant type of desert photograph, and it works every time.
Tip #4: Include Footprints — Then Find Fresh Sand
Human footprints in sand create beautiful leading lines toward a subject. Use them intentionally — position yourself so that a fresh track leads from the foreground toward a ridge, a person, or the horizon. But also: find sections of dune that are untouched, with no footprints at all — these areas convey a sense of timeless silence and the infinite desert. In early morning, wind often smooths the sand overnight, creating fresh unmarked surfaces to photograph. Move quickly when you find these — your own footprints will inevitably appear.
Tip #5: Protect Your Camera from Sand
Fine desert sand is the enemy of all camera equipment. When there is any wind, keep your camera inside a bag or wrapped in a cloth when not shooting. Never change lenses in the open desert — go inside a tent or under a cloth if you must. Clean your lens frequently with a soft cloth or lens blower (not compressed air, which can force sand deeper). Keep extra memory cards in a sealed bag. Mirrorless cameras and phones are slightly more sand-tolerant than DSLRs (fewer mechanical parts), but all benefit from protection. A simple plastic bag around the camera body is effective protection in dusty conditions.
Tip #6: Shoot the Stars — The Desert Night Sky is World-Class
With zero artificial light pollution, the Erg Chebbi sky is one of the finest stargazing and astrophotography environments on Earth. The Milky Way is visible and photographable from late August through May (it rises too low in summer months). For smartphone photography: use Nightmode or a dedicated astrophotography app; prop the phone on a stable surface; shoot toward the south where the Milky Way's galactic center appears. For DSLR/mirrorless: use a wide-angle lens (14–24mm), ISO 3200–6400, aperture f/1.8–f/2.8, exposure 15–25 seconds. Include a dune or tent in the foreground for context and depth. The 1–2 hours after midnight, when the Milky Way is highest, are optimal.
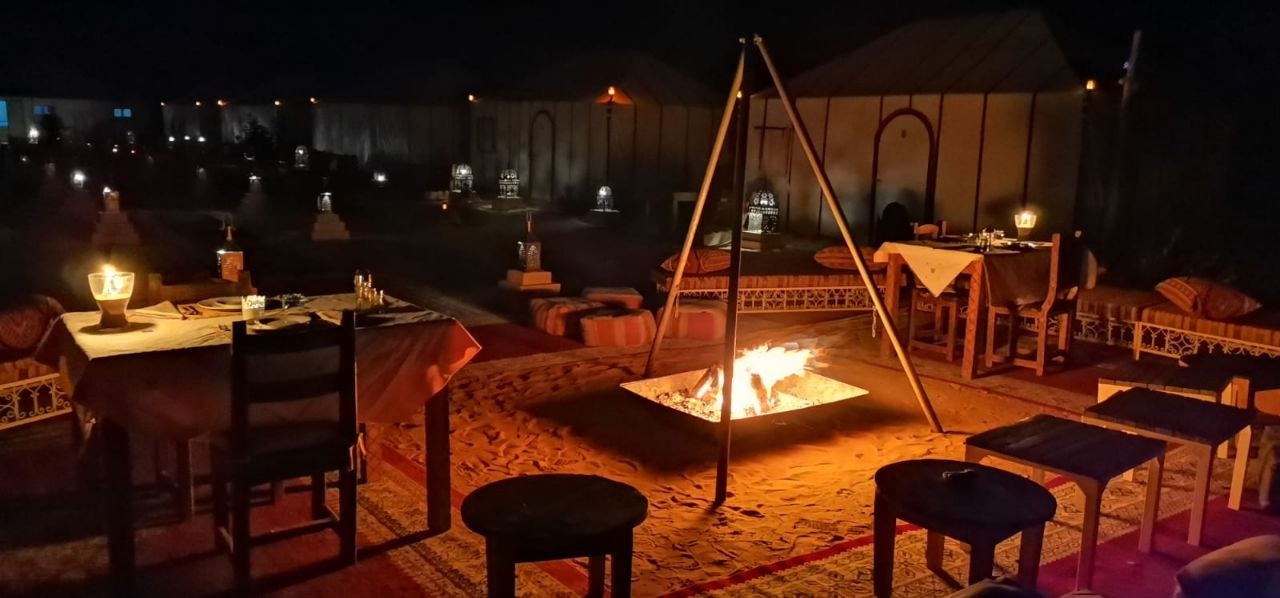
Tip #7: The Blue Hour After Sunset — Often Better Than Sunset Itself
Most photographers pack up after the sunset color fades. Don't. The 20–30 minutes after the last sunset glow — the blue hour — offers a completely different and often more beautiful quality of light: a deep, cool blue sky that fades to near-black at the zenith, while the western horizon retains a thin strip of warm color. The dunes in this light look sculptural and mysterious. The first stars appear against the blue. This transitional moment — between day and night, warm and cool, light and dark — creates some of the most evocative and distinctive desert images possible.
Tip #8: Photograph People with Permission and Authenticity
The most powerful travel portraits come from genuine moments, not posed performances. Ask your guide to introduce you to camp staff, camel handlers, or village families. Learn the basic courtesy greeting in Tamazight or Arabic. Photograph people doing what they do — preparing tea, adjusting a camel saddle, working at a loom — rather than posing for the camera. These images have life and authenticity that posed portraits lack. If someone declines to be photographed, respect the refusal without question. Always ask before photographing children.
Tip #9: Battery Management in Cold Desert Nights
Camera batteries discharge significantly faster in cold temperatures — at 5°C, you may find your battery losing charge at two to three times its normal rate. Cold nights in the Sahara from November to February can drop to near freezing. Solutions: keep spare batteries in an inside pocket, close to your body warmth; take them out of storage just before using them; recharge everything fully before the desert camp night; bring a 10,000 mAh power bank. For the night sky photography session (which requires 1–3 hours of shooting), having multiple charged batteries is not optional — it is essential.
Tip #10: Put the Camera Down — Some Moments Are for Living
This is the most important tip. The desert experience is not only a visual one — it is about silence, temperature change, the smell of cold sand, the sound of a distant drum, the sensation of sand between your toes. These things cannot be photographed. The moment you are watching through a viewfinder, you are not fully present in the experience itself. Photograph what you must — the sunset, the Milky Way, the camel silhouettes — and then put the camera away and simply be there. Your strongest memories of the Sahara may well be the ones you experienced without a camera in front of your face.
If you're a dedicated photographer and want to maximize your Sahara photography opportunities, ask about our private desert photography tours — we can customize timing, locations, and camp positioning to give you the best possible light for your specific photography goals.